
Imagine enjoying a flavorful grilled lemon herb chicken that’s not only delicious but also heart-healthy. You might think that eating low-sodium means sacrificing taste, but that’s far from the truth. There are plenty of meals that are both nutritious and satisfying. Let’s explore some options that can help you maintain a balanced diet while keeping sodium levels in check. You may find some surprising favorites along the way.
Quinoa Salad With Roasted Vegetables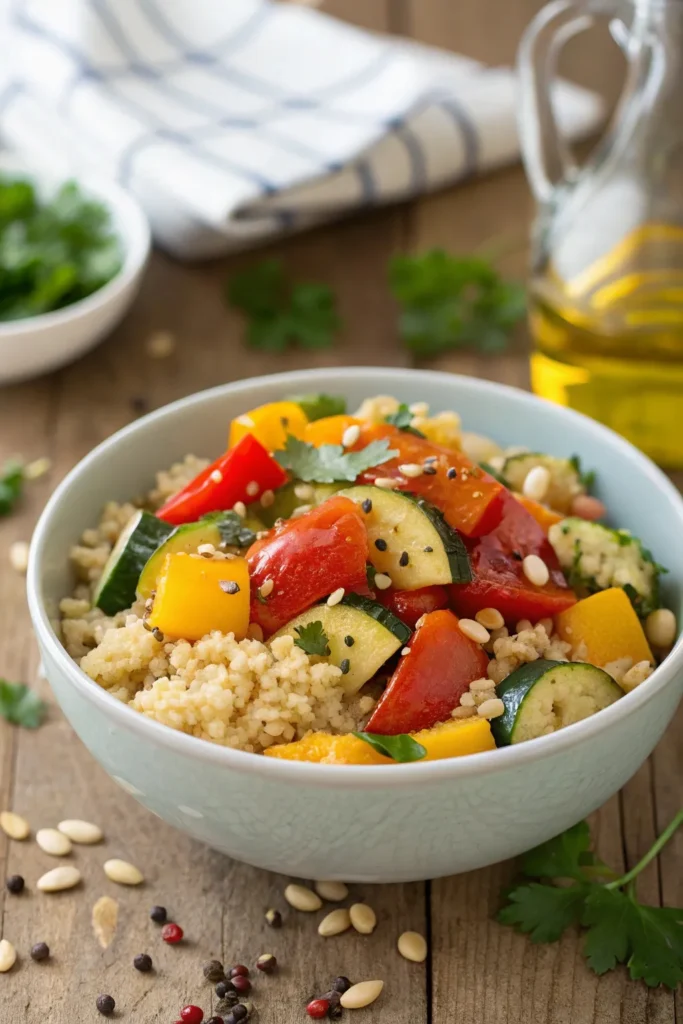
Quinoa salad with roasted vegetables is a vibrant and nutritious dish that perfectly balances flavor and health. Quinoa, a complete protein, isn’t only gluten-free but also packed with essential amino acids, making it an excellent base for a heart-healthy meal. When paired with an array of colorful roasted vegetables, this salad not only pleases the palate but also provides a spectrum of vitamins and minerals.
Roasting vegetables enhances their natural sweetness and adds a delightful char, elevating the overall taste of the salad. This dish is versatile and can be enjoyed warm or cold, making it a fantastic option for meal prep or a quick weeknight dinner. It’s low in sodium, making it heart-friendly, and can be customized with your favorite seasonal vegetables or topped with a light dressing for added flavor.
Ingredients:
- 1 cup quinoa
- 2 cups water or low-sodium vegetable broth
- 1 bell pepper, diced
- 1 zucchini, sliced
- 1 cup cherry tomatoes, halved
- 1 red onion, chopped
- 2 tablespoons olive oil
- 1 teaspoon garlic powder
- 1 teaspoon ground cumin
- Salt and pepper to taste (optional)
- Fresh parsley or cilantro for garnish
Cooking Instructions:
Preheat your oven to 400°F (200°C). Begin by rinsing the quinoa under cold water, then combine it with water or vegetable broth in a medium pot. Bring to a boil, reduce heat, and cover, allowing it to simmer for about 15 minutes or until the liquid is absorbed.
While the quinoa cooks, toss the diced bell pepper, zucchini, cherry tomatoes, and red onion in olive oil, garlic powder, cumin, salt, and pepper. Spread the vegetables on a baking sheet and roast in the oven for about 20-25 minutes, or until they’re tender and slightly caramelized.
Once both the quinoa and vegetables are ready, combine them in a large bowl and mix well. Garnish with fresh herbs before serving.
Extra Tips:
For an added layer of flavor, consider incorporating lemon juice or a splash of balsamic vinegar into the salad just before serving. You can also experiment with different vegetables based on what’s in season or what you have on hand.
If you want to make this salad even heartier, feel free to add some canned beans or chickpeas for extra protein and fiber. Enjoy it as a standalone dish or as a side to grilled meats or fish for a balanced meal!
Grilled Lemon Herb Chicken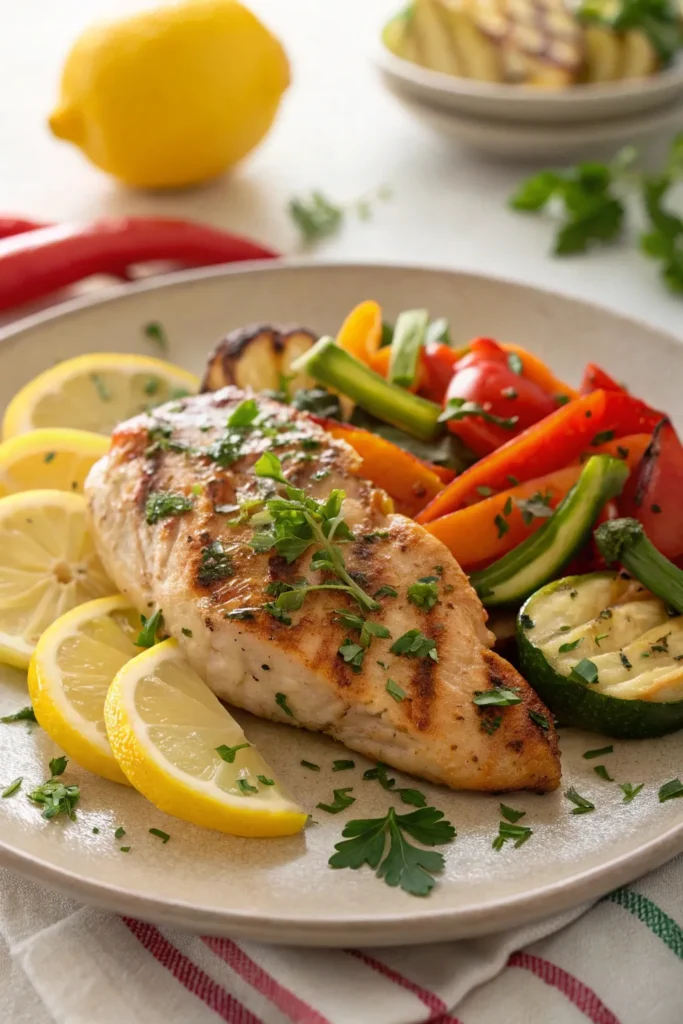
Grilled Lemon Herb Chicken is a delicious and heart-healthy dish that brings together the bright flavors of lemon and fresh herbs. This recipe isn’t only easy to make but also packed with protein and low in sodium, making it perfect for those looking to maintain a balanced diet. The marination process infuses the chicken with zesty flavors, guaranteeing each bite is juicy and satisfying.
To prepare this dish, you’ll need to allow some time for marinating the chicken, which enhances the flavor and tenderness. Pair it with a side of grilled vegetables or a fresh salad to create a complete meal that’s both nutritious and flavorful. This dish is ideal for summer barbecues or a healthy weeknight dinner.
Ingredients:
- 4 boneless, skinless chicken breasts
- 1/4 cup fresh lemon juice
- 2 tablespoons olive oil
- 2 cloves garlic, minced
- 1 tablespoon fresh rosemary, chopped
- 1 tablespoon fresh thyme, chopped
- 1 teaspoon black pepper
- Zest of 1 lemon
Cooking Instructions:
In a large bowl, whisk together the lemon juice, olive oil, minced garlic, rosemary, thyme, black pepper, and lemon zest to create the marinade.
Add the chicken breasts, guaranteeing they’re well coated, and cover the bowl with plastic wrap. Refrigerate for at least 30 minutes, or up to 4 hours for more intense flavor.
Preheat your grill to medium-high heat and lightly grease the grates. Remove the chicken from the marinade and grill for 6-7 minutes on each side or until the internal temperature reaches 165°F.
Let the chicken rest for a few minutes before slicing and serving.
Extra Tips:
For an added depth of flavor, consider marinating the chicken overnight in the refrigerator. This allows the herbs and lemon to fully penetrate the meat.
Additionally, you can experiment with different herbs such as parsley or oregano, depending on your taste preferences.
Always guarantee the chicken is cooked to the proper temperature for safety, and serve with a squeeze of fresh lemon juice on top for an extra burst of flavor.
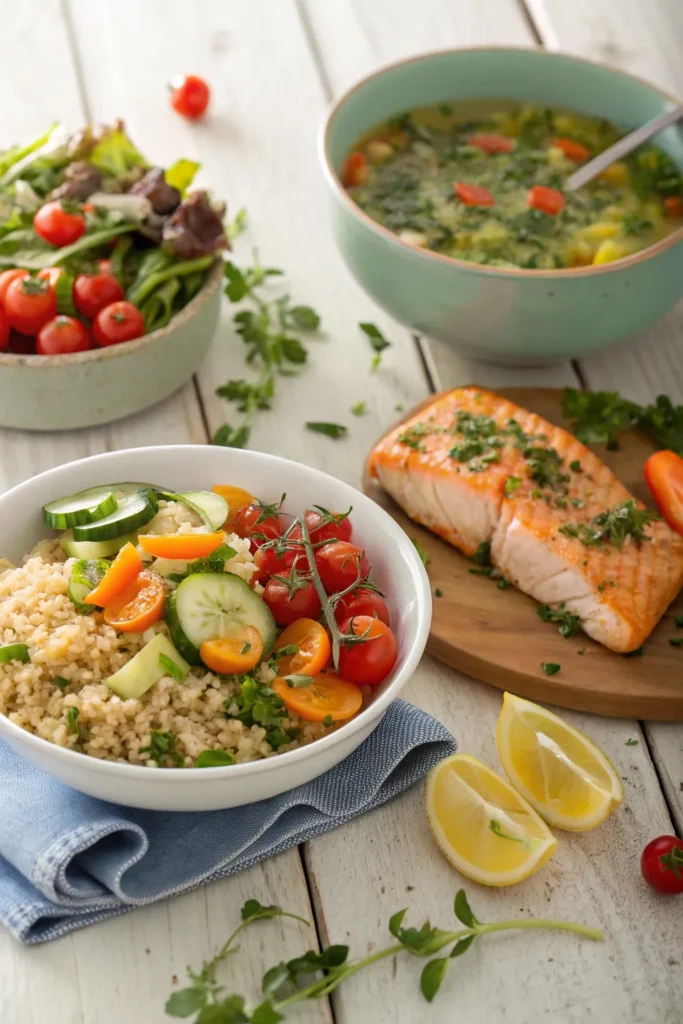
Baked Salmon With Garlic and Dill
Baked salmon with garlic and dill is a delightful and heart-healthy dish that brings together the rich flavors of fresh salmon with the aromatic notes of garlic and dill. This recipe isn’t only simple to prepare but also low in sodium, making it an excellent choice for those looking to maintain a heart-healthy diet.
Salmon is packed with omega-3 fatty acids, which are beneficial for heart health, while garlic and dill add a burst of flavor without the need for added salt.
To enhance the dish, you can pair it with a side of steamed vegetables or a fresh salad, ensuring a well-rounded meal. This baked salmon recipe is perfect for a weeknight dinner or a special occasion, and it only takes a short time to prepare and cook.
With minimal ingredients and effort, you can create a delicious and nutritious meal that will impress your family and friends.
Ingredients:
- 4 salmon fillets
- 2 tablespoons olive oil
- 3 cloves garlic, minced
- 2 tablespoons fresh dill, chopped (or 1 tablespoon dried dill)
- 1 lemon, sliced
- Black pepper, to taste
- Optional: fresh dill sprigs for garnish
Cooking Instructions:
Preheat your oven to 400°F (200°C). In a small bowl, combine the olive oil, minced garlic, chopped dill, and black pepper.
Place the salmon fillets on a baking sheet lined with parchment paper and drizzle the garlic-dill mixture over the top. Top each fillet with a slice of lemon and bake in the preheated oven for about 12-15 minutes, or until the salmon flakes easily with a fork.
Extra Tips:
For the best results, choose wild-caught salmon if available, as it tends to have a better flavor and texture compared to farmed salmon.
You can also experiment with additional herbs and spices, such as parsley or paprika, to customize the dish to your liking. If you prefer a crispy texture, broil the salmon for the last 2-3 minutes of cooking while keeping an eye on it to prevent burning.
Enjoy your healthy and flavorful meal!
Vegetable Stir-Fry With Brown Rice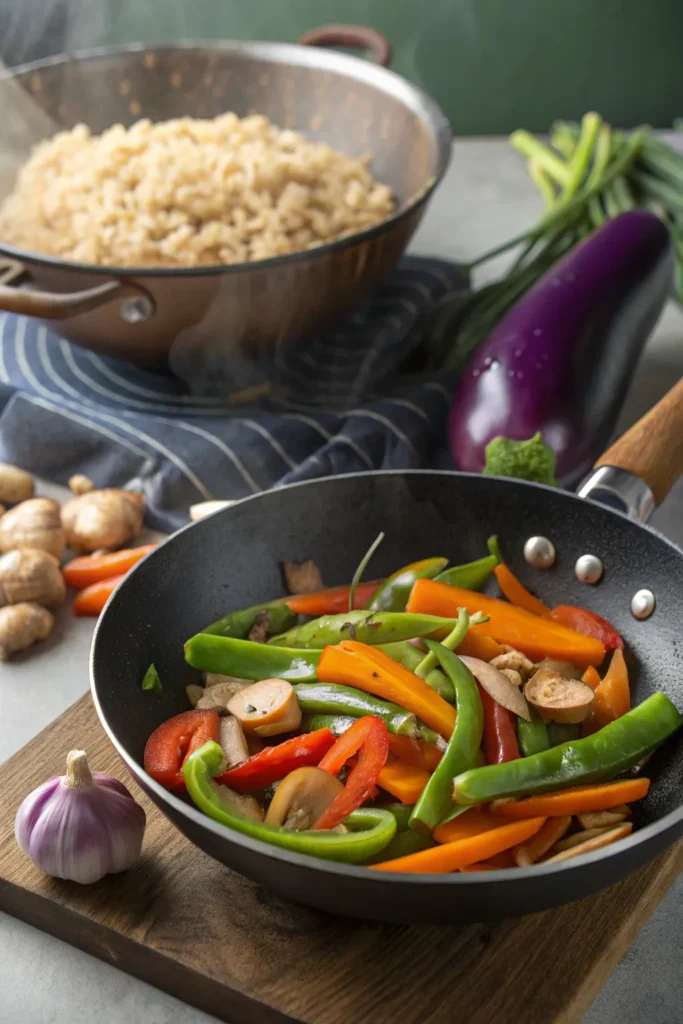
Vegetable stir-fry is a versatile and vibrant dish that can easily be adapted to suit your taste preferences while maintaining it heart-healthy. Packed with colorful vegetables and a nutty flavor from brown rice, this dish isn’t only low in sodium but also rich in nutrients. The quick cooking method preserves the freshness and crunch of the vegetables, making it a delightful addition to your heart-healthy meal plan.
This recipe allows you to customize your stir-fry with whatever vegetables you have on hand, making it a great way to reduce waste and enjoy seasonal produce. Brown rice serves as a wholesome base, providing fiber and essential minerals. The combination of fresh ingredients and light seasoning guarantees that you enjoy a flavorful meal without the added sodium, making it a perfect choice for those looking to maintain a heart-healthy diet.
Ingredients:
- 1 cup brown rice
- 2 cups water or low-sodium vegetable broth
- 1 tablespoon olive oil
- 1 bell pepper (sliced)
- 1 cup broccoli florets
- 1 carrot (sliced)
- 1 zucchini (sliced)
- 1 cup snap peas
- 2 cloves garlic (minced)
- 1 teaspoon ginger (grated)
- 1 tablespoon low-sodium soy sauce or tamari
- 1 teaspoon sesame oil (optional)
- Fresh cilantro or green onions for garnish (optional)
To begin, rinse the brown rice under cold water and combine it with water or low-sodium vegetable broth in a pot. Bring to a boil, then reduce the heat to low, cover, and let it simmer for about 45 minutes or until the rice is tender and all the liquid is absorbed.
While the rice is cooking, heat olive oil in a large skillet or wok over medium-high heat. Add the garlic and ginger, stirring for about 30 seconds until fragrant. Then, add the sliced bell pepper, broccoli, carrot, zucchini, and snap peas. Stir-fry the vegetables for about 5-7 minutes until they’re crisp-tender.
Drizzle with low-sodium soy sauce or tamari and sesame oil, if using, and stir to combine. Serve the vegetable stir-fry over the cooked brown rice and garnish with fresh cilantro or green onions, if desired.
When preparing your vegetable stir-fry, feel free to experiment with different vegetables based on what you enjoy or have available. You can also add protein sources like tofu, tempeh, or grilled chicken to make the dish more filling.
To enhance the flavor without adding sodium, consider using herbs and spices such as crushed red pepper, black pepper, or a splash of vinegar. Remember that cooking times may vary depending on the thickness of your vegetables, so keep an eye on them to ascertain they remain crisp and vibrant.
Lentil Soup With Spinach and Carrots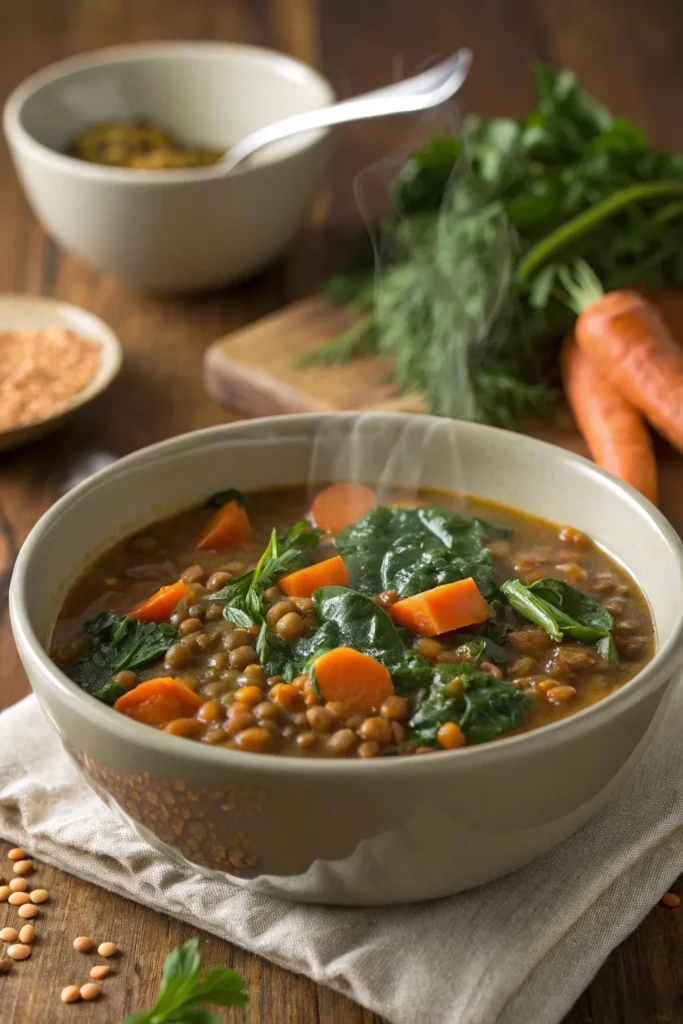
Lentil soup is a hearty and nutritious option that’s perfect for anyone looking to maintain a heart-healthy diet. Packed with protein, fiber, and vitamins, this dish combines lentils with fresh spinach and carrots to create a satisfying meal that’s low in sodium. Not only is it easy to prepare, but it also allows for plenty of variations, so you can customize it to your taste preferences.
This lentil soup is ideal for meal prep or a cozy dinner at home. The combination of earthy lentils, vibrant spinach, and sweet carrots provides a delightful mix of flavors and textures. Plus, it’s a one-pot meal that makes cleanup a breeze. Whether you’re serving it with a slice of whole-grain bread or enjoying it solo, this soup is sure to warm your heart and nourish your body.
Ingredients:
- 1 cup dried lentils (green or brown)
- 4 cups vegetable broth (low-sodium)
- 2 cups fresh spinach, chopped
- 2 medium carrots, diced
- 1 medium onion, chopped
- 2 cloves garlic, minced
- 1 teaspoon ground cumin
- 1 teaspoon dried thyme
- 1 tablespoon olive oil
- 1 bay leaf
- Black pepper, to taste
- Fresh lemon juice (optional, for serving)
Cooking Instructions:
In a large pot, heat the olive oil over medium heat and sauté the chopped onion and minced garlic until they’re translucent, about 3-4 minutes.
Add the diced carrots, lentils, vegetable broth, ground cumin, dried thyme, bay leaf, and black pepper. Bring the mixture to a boil, then reduce the heat and let it simmer for about 25-30 minutes, or until the lentils are tender.
Stir in the chopped spinach and cook for an additional 5 minutes. Remove the bay leaf before serving, and if desired, add a splash of fresh lemon juice for brightness.
Extra Tips:
For added flavor, consider incorporating other vegetables like diced tomatoes or bell peppers.
You can also adjust the consistency of the soup by adding more broth if you prefer a thinner texture or cooking it longer for a thicker result.
To make it a heartier meal, serve it with whole-grain bread or over a bed of brown rice. Remember, this soup freezes well, so make a big batch and save some for later!
Zucchini Noodles With Avocado Pesto
Zucchini noodles, also known as “zoodles,” are a fantastic low-carb alternative to traditional pasta, making them perfect for a heart-healthy diet. They’re packed with nutrients and provide a revitalizing base for a variety of sauces.
In this recipe, we’ll pair zucchini noodles with a creamy avocado pesto that’s both delicious and easy to make. Avocado isn’t only rich in healthy fats but also adds a rich, buttery texture that elevates the dish without the need for added sodium.
Making zucchini noodles is a simple process that can be done with a spiralizer or a vegetable peeler. Once the zoodles are prepared, the avocado pesto can be whipped up in just minutes, bringing together fresh basil, garlic, and lemon juice for a burst of flavor.
This dish is perfect for a quick weeknight meal or a light lunch, and it can easily be customized with your favorite vegetables or added protein for a more satisfying dish.
Ingredients:
- 2 medium zucchinis
- 1 ripe avocado
- 2 cups fresh basil leaves
- 2 tablespoons lemon juice
- 2 cloves garlic, minced
- 2 tablespoons olive oil
- Salt and pepper, to taste
- Cherry tomatoes, halved (optional)
- Grated Parmesan cheese (optional)
Cooking Instructions:
Using a spiralizer, create noodles from the zucchinis and set them aside. In a food processor, combine the avocado, basil, lemon juice, garlic, and olive oil, blending until smooth and creamy.
Season with salt and pepper to taste. Toss the zucchini noodles with the avocado pesto until evenly coated. If desired, serve with halved cherry tomatoes and a sprinkle of grated Parmesan cheese.
Extra Tips:
To prevent the zoodles from becoming too watery, consider placing them in a colander and sprinkling with a little salt before cooking; let them sit for about 10 minutes to draw out excess moisture.
Additionally, you can sauté the zucchini noodles lightly in a pan for a few minutes if you prefer them cooked rather than raw. This dish is best enjoyed fresh but can be stored in the refrigerator for a day if necessary.
Stuffed Bell Peppers With Quinoa and Black Beans
Stuffed bell peppers are a colorful and nutritious dish that perfectly blends flavor and health, making them an excellent choice for anyone looking to maintain a heart-healthy diet. This recipe features quinoa and black beans, both of which are packed with protein and fiber, helping to keep you full and satisfied without the need for excess sodium.
The vibrant colors of the bell peppers not only make the dish visually appealing but also provide a range of vitamins and antioxidants beneficial for heart health.
Preparing stuffed bell peppers is straightforward, and the result is a wholesome meal that can be enjoyed any day of the week. These peppers can be customized with your favorite vegetables and spices, making them versatile enough to suit various palates.
Whether you’re meal prepping for the week or looking for a quick dinner option, these stuffed bell peppers deliver on taste and nutrition.
Ingredients:
- 4 large bell peppers (any color)
- 1 cup quinoa, rinsed
- 2 cups vegetable broth (low-sodium)
- 1 can (15 oz) black beans, rinsed and drained
- 1 cup corn (fresh, frozen, or canned)
- 1 small onion, diced
- 2 cloves garlic, minced
- 1 tsp cumin
- 1 tsp chili powder
- 1 cup diced tomatoes (fresh or canned, low-sodium)
- 1/4 cup chopped fresh cilantro or parsley (optional)
- 1/2 cup shredded low-fat cheese (optional)
Preheat your oven to 375°F (190°C).
Begin by cooking the quinoa: in a medium saucepan, combine the rinsed quinoa and vegetable broth, bringing it to a boil. Once boiling, reduce the heat to low, cover, and simmer for about 15 minutes or until the quinoa is fluffy and the liquid is absorbed.
While the quinoa is cooking, prepare the bell peppers by cutting the tops off and removing the seeds. In a large mixing bowl, combine the cooked quinoa, black beans, corn, onion, garlic, cumin, chili powder, diced tomatoes, and cilantro. Stir until well mixed.
Spoon the filling into each bell pepper and place them upright in a baking dish. If desired, sprinkle cheese on top. Cover the dish with foil and bake for 30 minutes. Remove the foil and bake for an additional 10 minutes, or until the peppers are tender.
For best results, choose bell peppers that are firm and have a bright color, as this indicates freshness. You can also prepare the filling ahead of time and store it in the refrigerator, allowing for quick assembly and cooking when you’re ready to eat.
If you want to add more vegetables or spices, feel free to experiment! Additionally, these stuffed peppers freeze well, making them a great option for meal prep.
Chickpea and Spinach Curry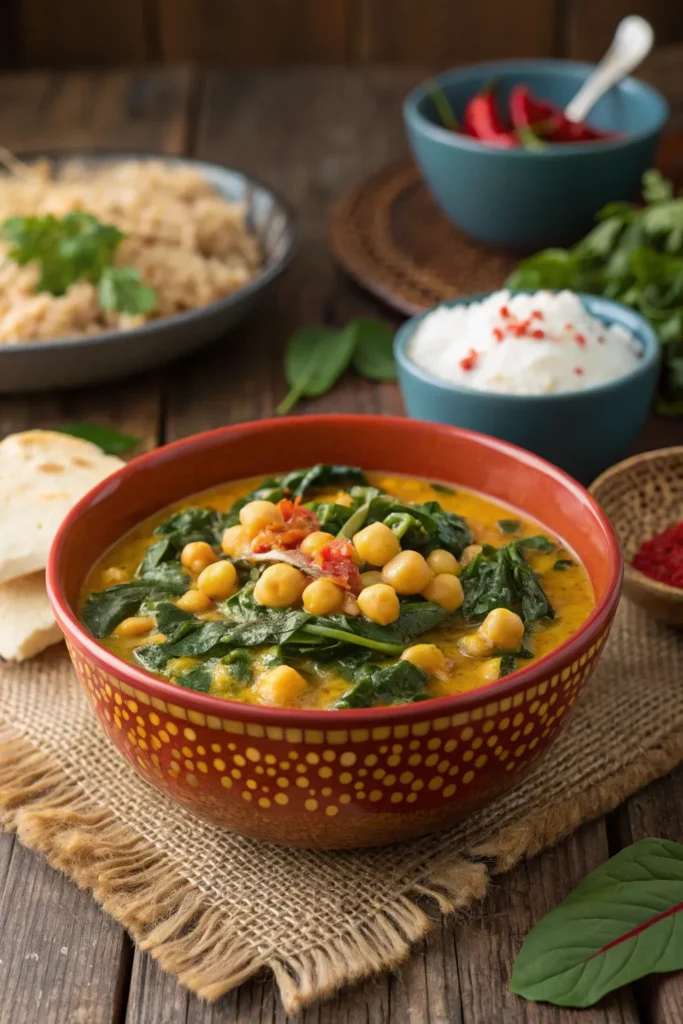
Chickpea and Spinach Curry is a delightful and nutritious dish that’s perfect for anyone looking to maintain a heart-healthy diet. This recipe combines protein-rich chickpeas with the vibrant greens of spinach, all simmered in fragrant spices and coconut milk. Not only is this dish low in sodium, but it also packs a punch regarding flavor and health benefits.
Whether you’re serving it over brown rice or enjoying it on its own, this curry is sure to become a favorite. Making this Chickpea and Spinach Curry is simple and quick, making it an excellent option for busy weeknights. The combination of warm spices, creamy coconut milk, and tender vegetables creates a comforting meal that’s both satisfying and nourishing.
Plus, it’s a great way to incorporate more plant-based ingredients into your diet. Get ready to enjoy a bowl of deliciousness that supports your heart health!
Ingredients:
- 1 can (15 oz) chickpeas, drained and rinsed
- 2 cups fresh spinach, washed and chopped
- 1 can (13.5 oz) coconut milk, light or regular
- 1 medium onion, diced
- 2 cloves garlic, minced
- 1 tablespoon ginger, grated
- 1 tablespoon curry powder
- 1 teaspoon turmeric
- 1 tablespoon olive oil
- 1 tablespoon lemon juice
- Fresh cilantro for garnish (optional)
Cooking Instructions:
In a large skillet, heat the olive oil over medium heat and add the diced onion, cooking until it becomes translucent. Stir in the garlic and ginger, cooking for another minute before adding the curry powder and turmeric.
Once fragrant, pour in the coconut milk and bring the mixture to a gentle simmer. Add the chickpeas and chopped spinach, cooking until the spinach is wilted and the chickpeas are heated through, about 5-7 minutes. Finish with a splash of lemon juice and garnish with fresh cilantro, if desired.
Extra Tips:
For added depth of flavor, consider incorporating diced tomatoes or a splash of vegetable broth into the curry. You can also customize the spice level by adding red pepper flakes or a chopped chili pepper if you enjoy heat.
This dish can be made ahead of time and stored in the refrigerator, making it a perfect meal prep option. Reheat gently before serving, and feel free to experiment with additional vegetables like bell peppers or zucchini for extra nutrition and variety.
Cauliflower Fried Rice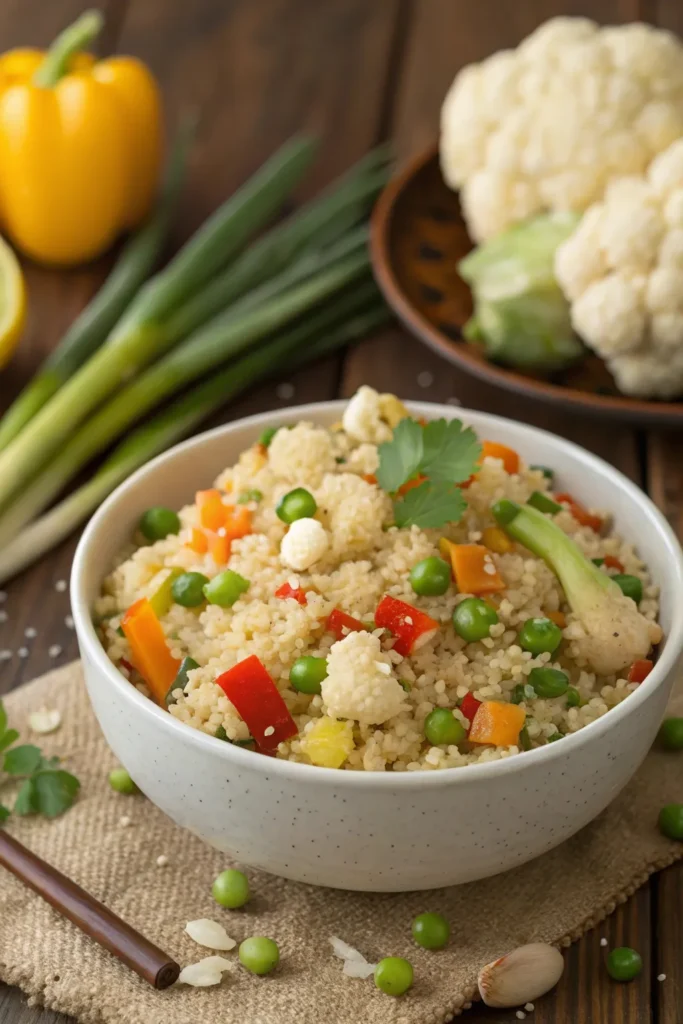
Cauliflower fried rice is a fantastic low-sodium alternative to traditional fried rice, making it an excellent choice for those looking to maintain a heart-healthy diet. Not only is it lower in carbs, but cauliflower also adds a wealth of nutrients, including vitamins C and K, and antioxidants that can support overall health.
This dish is versatile and can be customized with your favorite vegetables, proteins, and seasonings, allowing you to create a quick and satisfying meal that doesn’t compromise on flavor.
Preparing cauliflower fried rice is both simple and quick, making it a perfect weeknight dinner option. By using riced cauliflower as a base, you can whip up this delicious meal in just about 20 minutes. The combination of fresh vegetables, eggs, and a splash of low-sodium soy sauce creates a delightful dish that isn’t only heart-healthy but also packed with flavor.
Let’s plunge into the recipe!
Ingredients:
- 1 head of cauliflower, riced
- 2 tablespoons olive oil
- 1 cup mixed vegetables (carrots, peas, and corn)
- 2 green onions, chopped
- 2 cloves garlic, minced
- 2 large eggs, lightly beaten
- 2 tablespoons low-sodium soy sauce
- Salt and pepper to taste
- Optional: cooked chicken, shrimp, or tofu for added protein
Cooking Instructions:
Heat olive oil in a large skillet or wok over medium heat. Add the minced garlic and sauté until fragrant, about 30 seconds.
Next, add the mixed vegetables and cook for 3-4 minutes until tender. Stir in the riced cauliflower and cook for an additional 5 minutes, allowing it to soften.
Push the mixture to one side of the skillet and pour the beaten eggs into the empty space, scrambling them until cooked through.
Finally, combine everything, pour in the low-sodium soy sauce, and season with salt and pepper to taste.
Extra Tips:
For the best texture, make sure to use fresh cauliflower instead of frozen, as frozen cauliflower can become mushy when cooked.
Additionally, feel free to experiment with different vegetables or proteins based on your preferences or what you have on hand. If you like a bit of heat, adding a dash of chili sauce or red pepper flakes can elevate the flavor profile.
Enjoy your heart-healthy cauliflower fried rice!
Berry and Yogurt Parfait
A Berry and Yogurt Parfait is a delicious and nutritious way to kickstart your day or enjoy as a wholesome snack. This dish combines layers of creamy yogurt with fresh berries and crunchy granola, providing a delightful balance of flavors and textures. Not only is it low in sodium, but it also packs a punch of vitamins and antioxidants, making it a heart-healthy option that everyone can enjoy.
Creating this parfait isn’t only simple but also allows for customization based on your personal preferences. You can select your favorite berries, such as strawberries, blueberries, or raspberries, and opt for low-fat or non-fat yogurt. The addition of granola gives it that perfect crunch, while honey or maple syrup can be drizzled on top for natural sweetness.
This recipe is versatile and can be adjusted to make it vegan-friendly by using plant-based yogurt and granola without added sugars.
Ingredients:
- 2 cups low-fat or non-fat yogurt
- 1 cup fresh strawberries, sliced
- 1 cup fresh blueberries
- 1 cup fresh raspberries
- 1 cup granola (low-sodium)
- Honey or maple syrup (optional, for drizzling)
Instructions:
In a glass or bowl, start by layering half of the yogurt at the bottom, followed by a layer of strawberries, then a layer of blueberries, and a layer of raspberries.
Next, sprinkle a layer of granola over the berries. Repeat the layers with the remaining yogurt, berries, and granola. Finish with a drizzle of honey or maple syrup if desired, and serve immediately.
Extra Tips:
For a more indulgent twist, feel free to add a sprinkle of nuts or seeds for added nutrition and crunch.
You can also prepare the parfaits in advance and store them in the refrigerator for a quick grab-and-go breakfast or snack option. Just make sure to add the granola right before serving to keep it crunchy!


