
Did you know that snacking can actually boost your metabolism when done right? Instead of reaching for the usual chips or candy, consider healthier options that are both quick and satisfying. From protein-packed Greek yogurt to crunchy veggie sticks with hummus, there are plenty of delicious choices. Curious about how to make these easy snacks work for you? Let’s explore some tasty ideas that can transform your snacking habits.
Greek Yogurt With Honey and Berries
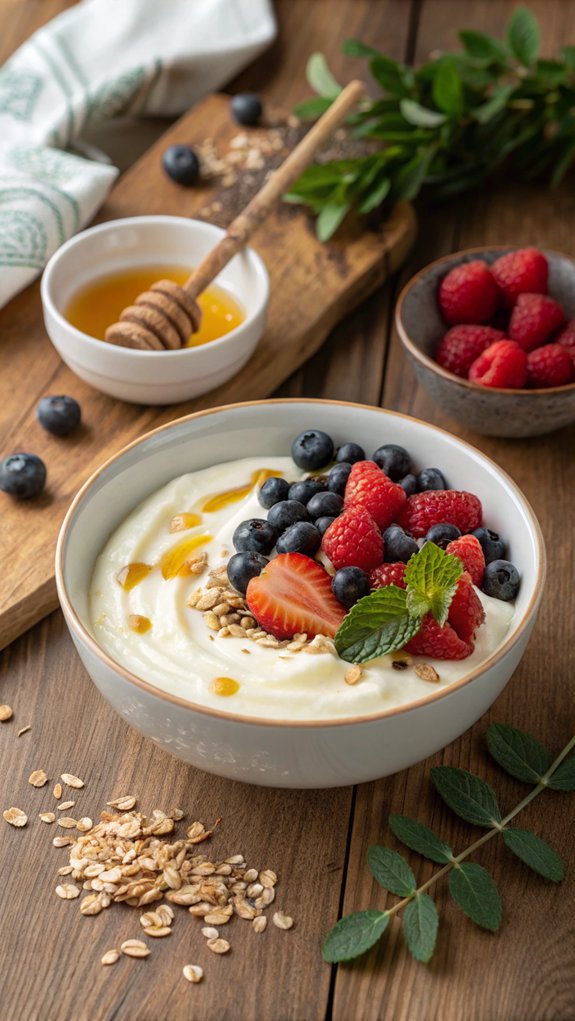
Greek Yogurt with Honey and Berries is a delightful and nutritious snack that can be prepared in just a few minutes. This dish combines the creaminess of Greek yogurt with the sweetness of honey and the freshness of berries, making it an ideal choice for a quick breakfast, post-workout snack, or a light dessert.
It’s not only easy to make, but it’s also packed with protein and antioxidants, giving you a delicious way to fuel your body.
To make this snack even more enjoyable, you can customize it according to your taste preferences and dietary needs. Whether you prefer strawberries, blueberries, or a mix of your favorite berries, this recipe allows for flexibility. You can also adjust the amount of honey to suit your sweetness level, making it a versatile option for everyone in the family.
Ingredients:
- 1 cup of Greek yogurt
- 1-2 tablespoons of honey (to taste)
- 1/2 cup of fresh berries (strawberries, blueberries, raspberries, or a mix)
- Optional: granola or nuts for topping
Instructions:
In a bowl, scoop out the Greek yogurt and smooth it out with a spoon. Drizzle the honey over the yogurt, adjusting the amount based on your sweetness preference.
Then, wash and prepare the berries by cutting them into smaller pieces if necessary. Gently toss the berries on top of the yogurt and honey mixture, and if desired, sprinkle some granola or nuts for added texture. Enjoy your delicious and healthy snack!
Extra Tips:
For an added layer of flavor, consider adding a pinch of cinnamon or a splash of vanilla extract to the yogurt before mixing in the honey.
You can also experiment with different types of yogurt, such as coconut or almond yogurt, for a dairy-free version. If you’re preparing this snack ahead of time, store the yogurt and toppings separately until you’re ready to serve to keep everything fresh and prevent sogginess.
Hummus and Veggie Sticks
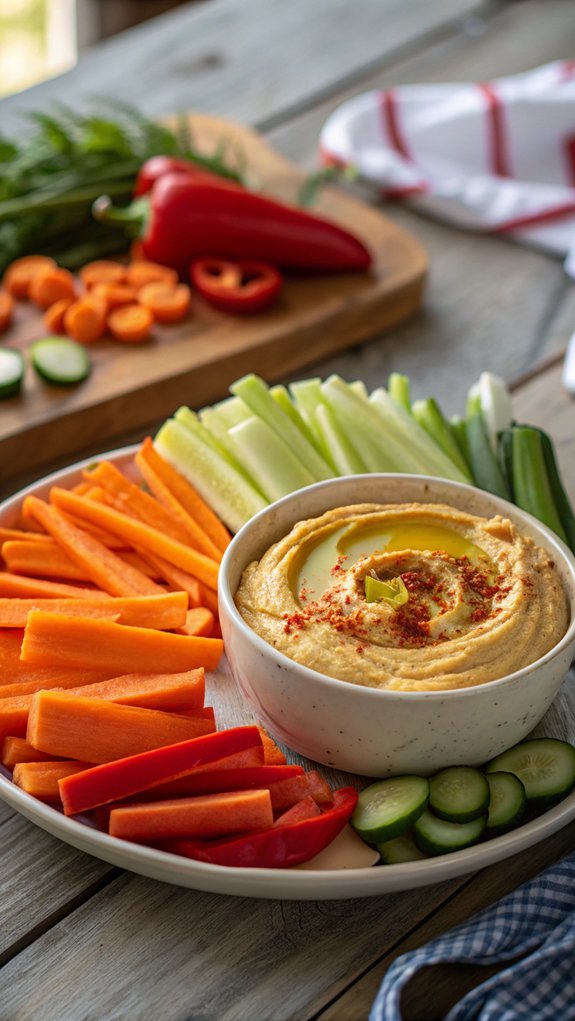
Hummus and veggie sticks make for a nutritious and satisfying snack that isn’t only easy to prepare but also packed with flavor. This dish combines the creamy, rich texture of hummus with the crisp crunch of fresh vegetables, making it an ideal option for a quick bite at any time of the day.
Whether you’re hosting a gathering, looking for a healthy snack, or just want to elevate your lunch, this combination is sure to please.
Making hummus from scratch can be incredibly rewarding, and it allows you to customize the flavors to your liking. While store-bought hummus is convenient, homemade versions tend to have a fresher taste and can be tailored with various spices, herbs, or additional ingredients like roasted garlic or sun-dried tomatoes.
Pair your hummus with an array of colorful veggie sticks for a delightful presentation that’s as pleasing to the eye as it’s to the palate.
Ingredients:
- 1 can (15 oz) chickpeas, drained and rinsed
- 1/4 cup tahini
- 2 tablespoons olive oil
- 2 tablespoons lemon juice
- 1 garlic clove, minced
- 1/2 teaspoon ground cumin
- Salt to taste
- Fresh vegetables (carrots, cucumber, bell peppers, celery, etc.)
Cooking Instructions:
In a food processor, combine the chickpeas, tahini, olive oil, lemon juice, minced garlic, ground cumin, and a pinch of salt. Blend until smooth and creamy, adding a little water if needed to achieve your desired consistency.
Taste and adjust seasoning as necessary, then transfer the hummus to a serving bowl. Arrange your freshly cut vegetable sticks around the bowl for an inviting presentation.
Extra Tips:
For added flavor, consider garnishing your hummus with a drizzle of olive oil, a sprinkle of paprika, or some chopped fresh herbs like parsley or cilantro.
You can also experiment with different vegetables based on the season or your preferences; radishes, snap peas, and cherry tomatoes are all great options.
Finally, feel free to make a double batch of hummus and store it in the fridge for up to a week, so you always have a healthy snack on hand!
Nut Butter and Banana Toast
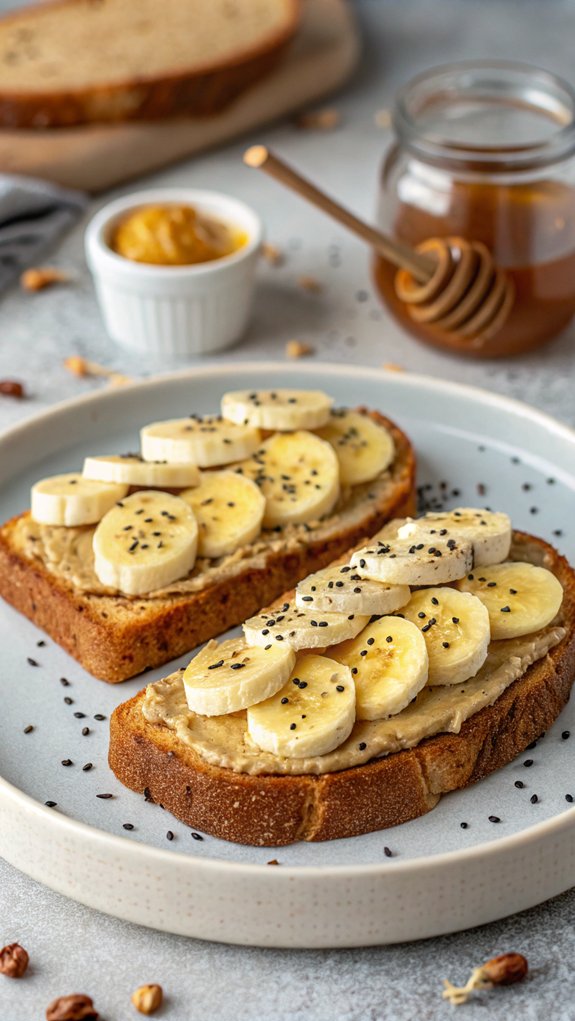
Nut Butter and Banana Toast is a simple yet delicious snack that combines the creamy richness of nut butter with the natural sweetness of bananas. This quick dish is perfect for breakfast, a mid-afternoon snack, or even a post-workout refuel. The toast serves as a sturdy base, while the nut butter adds protein and healthy fats, making it a satisfying option to keep you energized throughout the day.
The beauty of this recipe lies in its versatility; you can use any type of nut butter you prefer, whether it’s classic peanut butter, almond butter, or even sunflower seed butter for a nut-free option. Topping the toast with banana slices not only enhances the flavor but also provides essential vitamins and minerals.
Feel free to experiment by adding additional toppings such as honey, chia seeds, or a sprinkle of cinnamon for an extra flavor boost.
Ingredients:
- 2 slices of whole-grain bread
- 2 tablespoons of nut butter (peanut, almond, or your choice)
- 1 ripe banana
- Honey or maple syrup (optional)
- Chia seeds or cinnamon (optional)
Cooking Instructions:
Begin by toasting the slices of whole-grain bread until they reach your desired level of crispiness.
Once toasted, spread an even layer of nut butter over each slice. Next, peel the banana and slice it into thin rounds. Arrange the banana slices on top of the nut butter-covered toast, and drizzle with honey or maple syrup if desired.
For added texture and nutrition, sprinkle some chia seeds or a dash of cinnamon over the top before serving.
Extra Tips:
For the best flavor, consider using freshly toasted bread that’s still warm, as this helps to enhance the nut butter’s creaminess.
If you want to make this snack even more filling, add a sprinkle of nuts or seeds on top for a delightful crunch. Additionally, experiment with different fruit toppings like strawberries or blueberries to switch up the flavors based on seasonal availability.
Cheese and Whole Grain Crackers
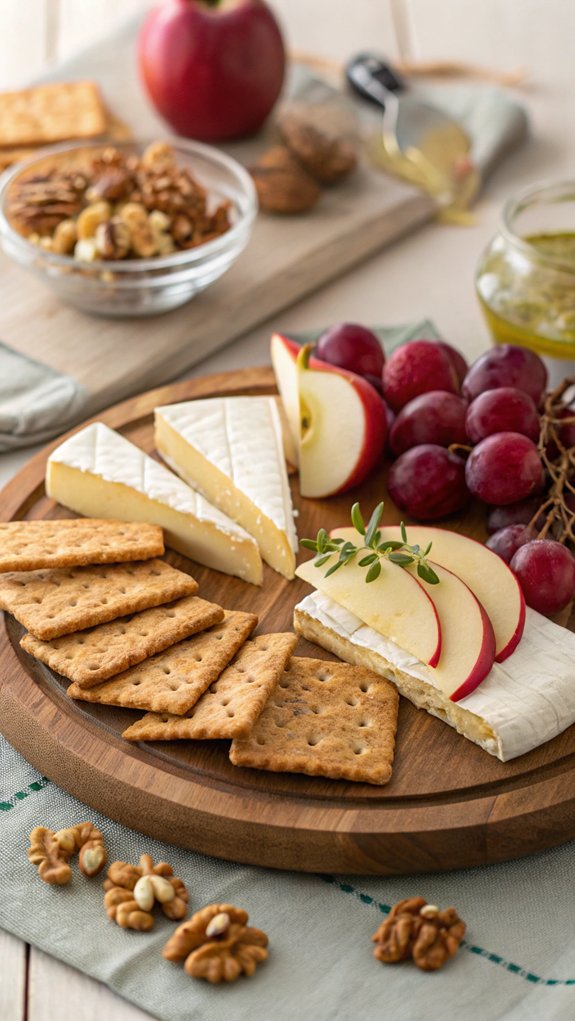
Cheese and whole grain crackers make for a delightful, quick snack that’s both satisfying and nutritious. The combination of creamy cheese paired with the crunch of whole grain crackers creates a perfect balance of flavors and textures. This snack isn’t only easy to prepare but can also be customized to fit your personal taste preferences. Whether you prefer sharp cheddar, creamy brie, or tangy goat cheese, the options are endless!
To elevate your snacking experience, consider adding some fresh fruits, nuts, or even a drizzle of honey. The addition of sweet or savory components can enhance the overall taste and provide a more rounded snack. This simple yet delicious pairing can be served on its own or as part of a larger platter for gatherings and parties, making it a versatile choice for any occasion.
Ingredients:
- Whole grain crackers
- Cheese of your choice (cheddar, brie, goat cheese, etc.)
- Fresh fruits (like apple slices or grapes)
- Nuts (such as almonds or walnuts)
- Honey (optional)
To prepare your cheese and whole grain crackers, start by arranging the whole grain crackers on a serving platter. Next, slice your chosen cheese into bite-sized pieces or wedges and place them atop the crackers. If you desire, add a few slices of fresh fruit or a sprinkle of nuts to each cracker for added flavor and texture. For a sweet twist, drizzle a small amount of honey over the cheese before serving.
Extra Tips: When selecting cheese, consider a variety of textures and flavors to create an appealing snack board. Also, feel free to experiment with different types of whole grain crackers, as they can vary in flavor and crunch. For a more gourmet touch, you can even incorporate spreads like hummus or pesto as a base for your cheese, offering a unique twist to the classic cheese and cracker combo.
Apple Slices With Almonds
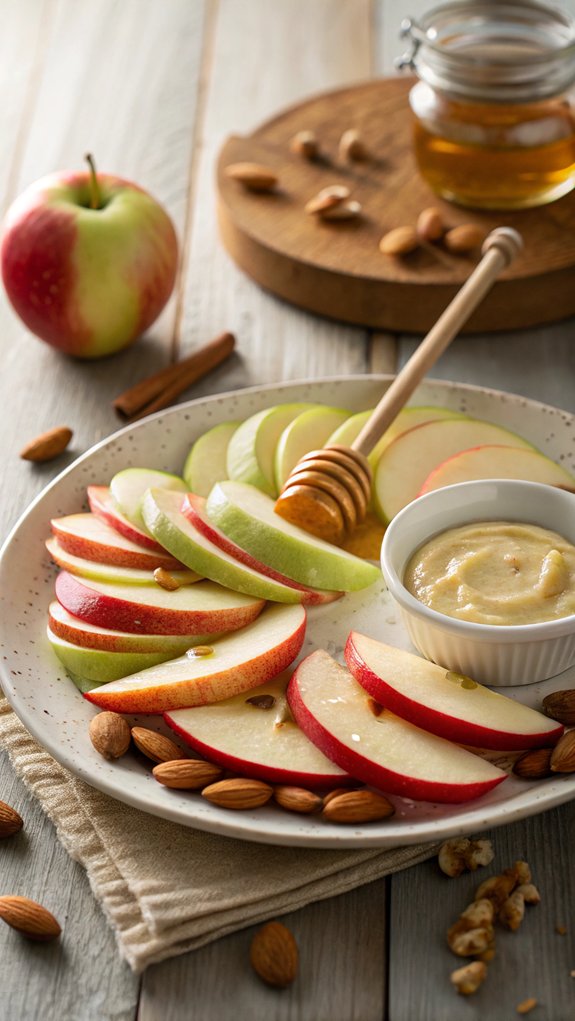
Apple slices with almonds make for a delicious and nutritious quick snack that can be enjoyed any time of the day. The crispness of the apples combined with the satisfying crunch of almonds creates a delightful texture that’s both invigorating and satisfying. This snack not only curbs your hunger but also provides a good source of vitamins and healthy fats.
Making apple slices with almonds is incredibly easy and requires minimal preparation. You can enjoy it as a mid-afternoon treat, a post-workout snack, or even as a light dessert. With just a few ingredients and simple steps, you’ll have a healthy snack ready in no time. Plus, it’s a great way to incorporate more fruits and nuts into your diet.
Ingredients:
- 1 large apple (any variety)
- ¼ cup raw almonds (sliced or whole)
- 1 tablespoon almond butter (optional)
- Cinnamon (optional, for sprinkling)
- Honey or maple syrup (optional, for drizzling)
Cooking Instructions:
Begin by washing the apple thoroughly under cool water. Next, slice the apple into thin wedges or rounds, removing the core.
Arrange the apple slices on a plate and sprinkle the raw almonds evenly over them. If desired, you can drizzle almond butter on top for added creaminess, and finish with a light sprinkle of cinnamon or a drizzle of honey or maple syrup for sweetness.
Extra Tips:
To keep your apple slices from browning, you can soak them in a mixture of water and lemon juice for a few minutes before serving. This will help preserve their vibrant color and freshness.
Additionally, feel free to experiment with different nut varieties, such as walnuts or pecans, for a unique twist on this simple snack.
Energy Bites With Oats and Peanut Butter
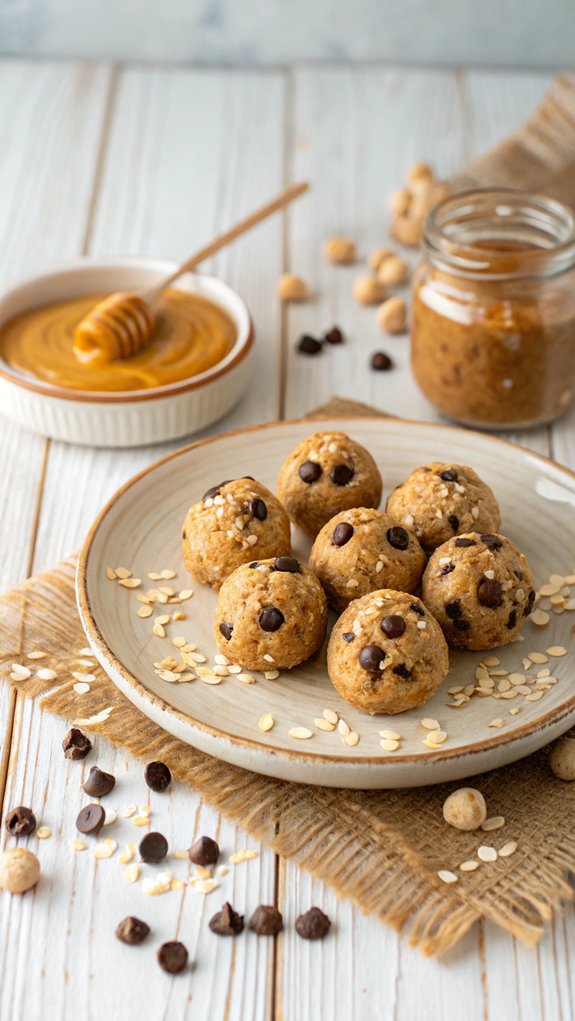
Energy bites are the perfect snack for those busy days when you need a quick pick-me-up. Packed with wholesome ingredients, these little bites aren’t only delicious but also provide a boost of energy thanks to the combination of oats and peanut butter.
They’re great for pre-workout fuel, a midday snack, or even a sweet treat after dinner. Plus, they require no baking, making them a hassle-free option for anyone looking to satisfy their hunger on the go.
Preparing energy bites with oats and peanut butter is incredibly simple, and you can customize them to your liking. Feel free to add in your favorite mix-ins like chocolate chips, dried fruits, or seeds for extra flavor and nutrition.
Once you try making these easy snacks at home, you’ll find yourself reaching for them over store-bought options. Let’s get started on creating these tasty energy bites!
Ingredients:
- 1 cup rolled oats
- 1/2 cup peanut butter (or any nut butter of your choice)
- 1/3 cup honey or maple syrup
- 1/4 cup ground flaxseed (optional)
- 1/2 cup chocolate chips (optional)
- 1/2 teaspoon vanilla extract
- A pinch of salt
Instructions:
In a medium-sized bowl, combine the rolled oats, peanut butter, honey or maple syrup, ground flaxseed, chocolate chips, vanilla extract, and salt.
Mix all the ingredients together until well combined and the mixture is sticky. Once mixed, use your hands to roll the mixture into small balls, about 1 inch in diameter.
Place the energy bites on a baking sheet lined with parchment paper and refrigerate for at least 30 minutes to firm up before enjoying.
Extra Tips:
For added texture and flavor, you can experiment with different nut butters or sweeteners.
If you find the mixture too dry, add a touch more peanut butter or honey until it reaches a sticky consistency.
These energy bites can be stored in an airtight container in the refrigerator for up to a week, making them a convenient snack option that’s ready whenever you are!
Popcorn With Nutritional Yeast
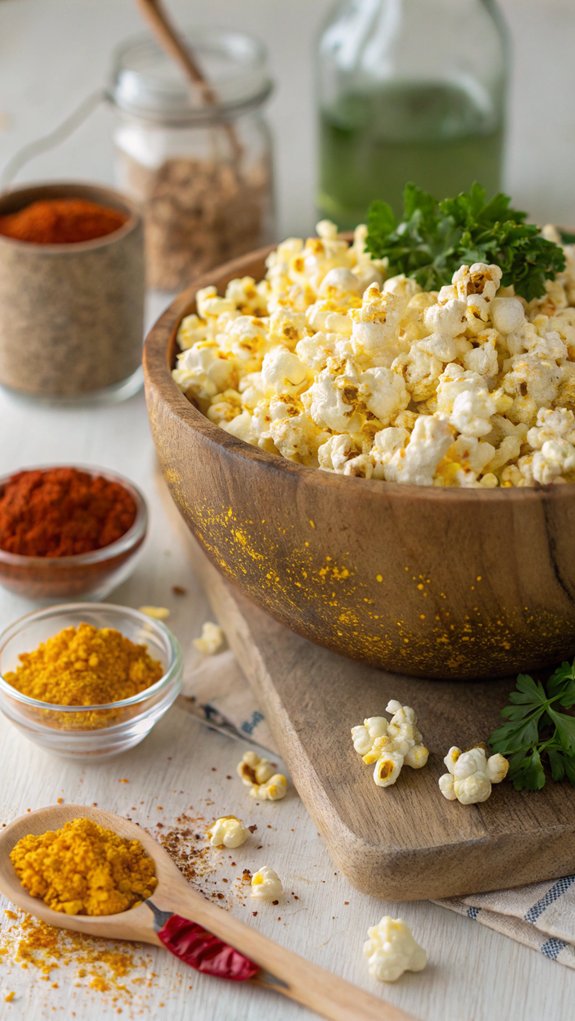
Popcorn with nutritional yeast is a delightful and nutritious twist on the classic snack. This recipe is perfect for those who are looking for a quick and healthy bite that’s both satisfying and full of flavor. Nutritional yeast adds a cheesy, savory taste to the popcorn, making it an excellent option for movie nights, afternoon snacks, or anytime you crave something crunchy and delicious.
Making popcorn with nutritional yeast isn’t only simple but also provides a great source of vitamins, particularly B vitamins. This snack is vegan-friendly and can easily be customized with various spices or toppings according to your preferences. Enjoy the lightness of air-popped popcorn combined with the umami flavor of nutritional yeast for a guilt-free treat.
Ingredients:
- 1/2 cup popcorn kernels
- 2 tablespoons coconut oil or vegetable oil
- 1/4 cup nutritional yeast
- 1 teaspoon garlic powder (optional)
- 1 teaspoon onion powder (optional)
- Salt to taste
Cooking Instructions:
In a large pot, heat the oil over medium-high heat and add a few popcorn kernels to test if the oil is hot enough; once they pop, add the rest of the kernels.
Cover the pot with a lid, leaving it slightly ajar to allow steam to escape. Shake the pot occasionally, and once the popping slows down, remove it from the heat.
Transfer the popcorn to a large bowl, sprinkle with nutritional yeast, garlic powder, onion powder, and salt, tossing well to guarantee even coating.
Extra Tips:
For an added kick, experiment with different spices such as smoked paprika, chili powder, or even cayenne pepper to give your popcorn a unique flavor profile.
You can also drizzle a little melted vegan butter or olive oil over the popcorn before adding the nutritional yeast for a richer taste and improved adherence of the seasonings. Enjoy your healthy snack!
Cottage Cheese With Pineapple
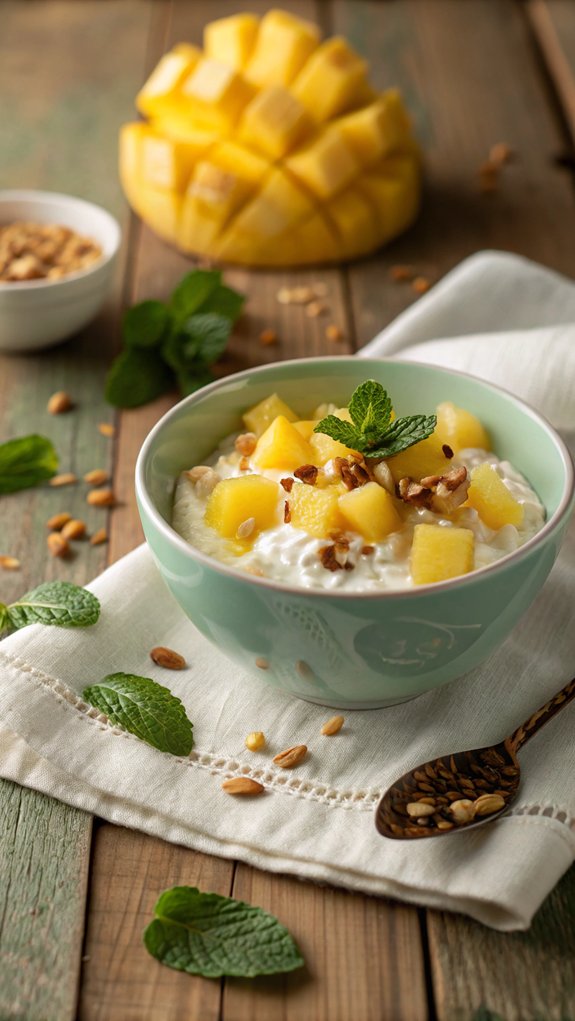
Cottage cheese with pineapple is a delightful and nutritious snack that combines the creamy texture of cottage cheese with the sweet and tangy flavor of pineapple. This simple dish isn’t only quick to prepare but also packs a punch of protein and vitamins, making it an ideal choice for those looking for a healthy bite.
Perfect for breakfast, a midday snack, or even as a light dessert, it requires minimal effort and ingredients.
To make this invigorating treat, you can use either fresh pineapple or canned pineapple, depending on your preference and what you have on hand. The contrast between the soft cottage cheese and the juicy pineapple creates a satisfying mouthfeel and taste that’s sure to please.
Whether you’re serving it to guests or enjoying it solo, cottage cheese with pineapple is a delicious way to indulge while keeping your snacking healthy.
Ingredients:
- 1 cup cottage cheese
- 1 cup pineapple chunks (fresh or canned)
- 1 tablespoon honey (optional)
- 1 tablespoon chopped nuts (optional, for topping)
- Mint leaves (for garnish, optional)
Instructions:
In a medium bowl, combine the cottage cheese and pineapple chunks, mixing gently until well incorporated.
If desired, drizzle with honey for added sweetness and stir lightly. Serve immediately in individual bowls or glasses, and sprinkle with chopped nuts for an extra crunch. Garnish with mint leaves for a touch of vitality.
Extra Tips:
For a twist on this classic recipe, consider adding a sprinkle of cinnamon or a few drops of vanilla extract to enhance the flavor.
If you prefer a creamier texture, use full-fat cottage cheese, or for a lighter option, opt for low-fat or non-fat varieties. You can also experiment with different fruits like berries or peaches to customize your snack to your liking.
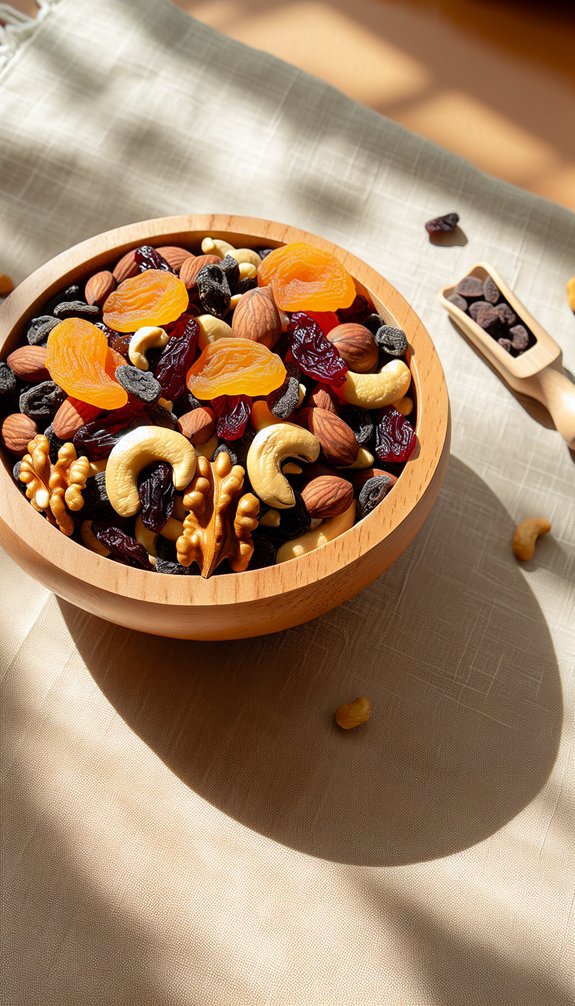
Trail Mix With Nuts and Dried Fruit
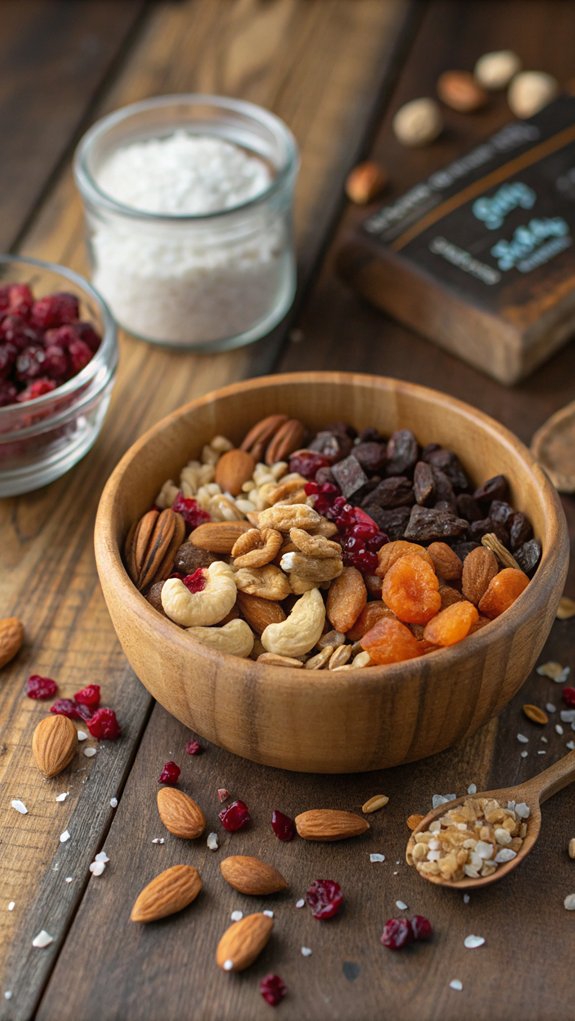
Trail mix is the perfect snack for those on the go, combining a variety of flavors and textures that not only satisfy hunger but also provide essential nutrients. This quick and easy trail mix recipe features a delightful blend of nuts and dried fruits, making it a wholesome option for any time of day.
Whether you’re heading out for a hike, packing a school lunch, or simply looking for a nutritious snack at home, this trail mix is a versatile choice that can be customized to suit your taste.
Creating your own trail mix allows you to control the ingredients and portion sizes, guaranteeing that you have a healthy snack at your fingertips. By mixing different types of nuts with dried fruits like raisins, cranberries, or apricots, you can enjoy a delicious combination of sweet and savory flavors.
Plus, it only takes a few minutes to prepare, making it an ideal choice for those busy days when you need a quick bite.
Ingredients
- 1 cup almonds
- 1 cup walnuts
- 1 cup cashews
- 1 cup dried cranberries
- 1 cup dried apricots, chopped
- 1 cup raisins
- 1/2 cup dark chocolate chips (optional)
- 1/2 teaspoon sea salt (optional)
Instructions
In a large mixing bowl, combine all the nuts and dried fruits, mixing them thoroughly to guarantee an even distribution of flavors.
If you’re adding chocolate chips and sea salt, incorporate them at this stage as well. Once everything is well mixed, store the trail mix in an airtight container or portion it into snack-sized bags for easy grab-and-go options.
Extra Tips
Feel free to get creative with your trail mix! You can swap out any of the nuts or dried fruits for your personal favorites, such as pecans, hazelnuts, or mango.
Additionally, consider adding seeds like pumpkin or sunflower seeds for extra crunch and nutrition. Store your trail mix in a cool, dry place to maintain freshness, and enjoy it within a few weeks for the best flavor!


